
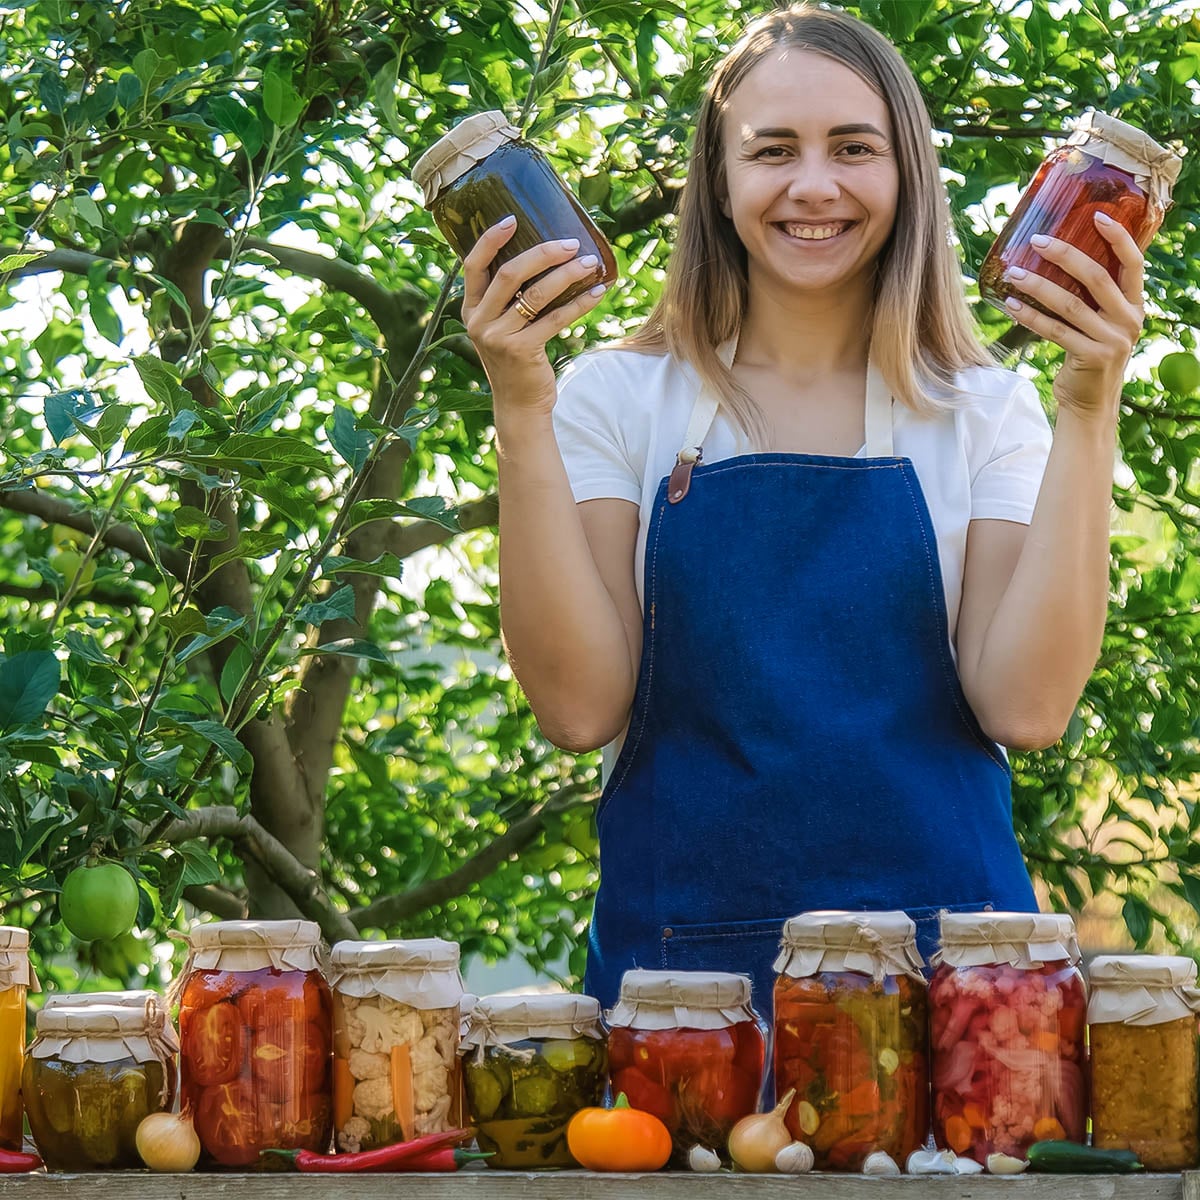

Second week of August. Counters gone. Dining table gone. Somewhere under that mountain is the bowl your grandmother gave you, and you haven’t seen it in four days.
Welcome to tomato season. Anyone who planted more than six vines has lived this. The plants do not care about your schedule or the fact that you already cooked sauce twice this week.
Good news. You can keep your job and your sanity. There’s a small hack coming up, a byproduct trick that turns scraps into a seasoning people buy for $12 an ounce at fancy shops. Hold that thought.
First, the fast plan.
TL;DR
Freezing is your emergency valve. Wash, core, bag, done. No blanching. No pot babysitting.
Canning is the long game if you want your freezer back. It saves electricity and shelf space, but only if you stick to the acid rules with bottled lemon juice or citric acid, every single batch.
Paste types win for preservation. Roma and San Marzano carry thicker walls and less water, so sauce reduces faster and jars have more solids. We’ll talk about how big that water gap is later. It’s larger than you think.
Expect 6 to 18 months of life. Freezer goods sit on the shorter end. Dried and canned, stored right, go longer.
Now the how, so you can actually use this instead of just nodding along.
Freezing is the speed hack
Got 20 minutes and vines that won’t quit? Freezing is your friend. No sterilizing jars. No standing over boiling water in August heat, which is its own kind of misery.
The win here is minimal prep. No peeling. No blanching. No decisions to make.
The cookie sheet method
Here’s how you keep a bag of tomatoes from freezing into one giant brick. Freeze them flat first.
How to do it:
- Wash the tomatoes. Skip soap.
- Cut out the cores.
- Lay them on a cookie sheet so they don’t touch.
- Slide the tray into the freezer for 2–4 hours, until firm.
- Tip the frozen tomatoes into a freezer bag or rigid container, press out the air, and label with the date.
Now they’re loose. You can grab a handful for soup on a random Tuesday in January without attacking a frozen boulder with a butter knife.
This is the home version of commercial flash freezing. Total hands-on time for a tray stays under 15 minutes.
The easy skin-slip trick
Skip blanching.
Old-school directions tell you to dunk in boiling water, then ice water, then peel. Freezing does that for you anyway!
When you’re ready to cook, run frozen tomatoes under warm water for 10–20 seconds. The skins slide off in your hand. Ice crystals formed during freezing rupture cell walls, so the skin lets go as they thaw.
Worth noting, some preservation guides still blanch and peel before freezing for cleaner looks. That’s a fine call if you want pretty slices for a gratin and you’ve got time. If you’re standing in the kitchen with 15 pounds of ripe fruit and a toddler yelling in the next room, freezing whole wins on speed. Two approaches, two goals.
One caveat. Thawed tomatoes go soft. Water expansion during freezing breaks down the flesh, so skip salads. Save them for soups, stews, chili, and sauce, where texture doesn’t matter and flavor does.
This is built for the daily trickle. Six ripe tomatoes on a Tuesday don’t deserve a four-hour canning session. Wash, freeze, move on.
Eventually the freezer fills, or you want shelf space instead of cold storage. That’s when canning earns its reputation, the good and the bad.
Canning for the long haul
Canning has history. It also has heat. Plenty of tired gardeners call it miserable work, standing over a boiling pot in summer. One longtime home canner described her years of “the laborious process of boil canning tomatoes… miserably hot work,” something she dreaded every single summer.
Other voices still call it the gold standard for winter sauce, and they’re right too. Cornell Cooperative Extension and lots of home canners swear by it for locking in peak flavor.
Both realities coexist. Canning pays off. It’s also work. Go in clear-eyed.
Here’s the part where you cannot cut corners.
The critical pH rule
Take this seriously. Tomatoes sit on the edge of safe pH for home canning, and modern breeding made that edge fuzzier.
Botulism bacteria do not survive in an acidic environment. The safety line is pH 4.6 or lower. Older heirlooms usually landed below that. Decades of breeding for sweetness bumped many modern tomatoes into the 4.8 to 5.2 range, which is the danger zone.
Your tomatoes aren’t “bad.” They just might not be acidic enough on their own to sit in a pantry jar for a year.
The fix is simple. Acidify every batch.
- Per quart jar: 2 tablespoons bottled lemon juice OR 1/2 teaspoon citric acid
- Per pint jar: 1 tablespoon bottled lemon juice OR 1/4 teaspoon citric acid
Use bottled lemon juice. Fresh-squeezed swings in acidity with the lemon, the season, even the tree. Bottled is standardized so you know what you’re getting.
Plenty of people assume tomatoes are acidic enough because they taste bright. That assumption causes trouble. Add the acid for every jar.
Water bath or pressure canning
Plain tomatoes, properly acidified, can go through a boiling water bath. That’s the easier lane and covers whole tomatoes, crushed tomatoes, and basic sauce.
Once you add low-acid ingredients, the rules change. Onions, peppers, garlic, any kind of meat, all lower the acidity of the mix. After that point, a water bath isn’t safe. You need a pressure canner that hits higher temperatures and kills bacterial spores a water bath can’t touch.
| What you’re canning | Method required |
|---|---|
| Plain whole or crushed tomatoes (acidified) | Water bath |
| Tomato sauce, no added vegetables | Water bath |
| Salsa with onions or peppers | Pressure canner |
| Sauce with meat | Pressure canner |
| Anything with garlic packed in oil | Pressure canner |
If you want chunky salsa with onions and peppers, or a meaty pasta sauce, pressure canning isn’t optional. It’s the requirement.
Altitude matters. Above 1,000 feet, processing times and pressures need adjustments. Water boils at a lower temperature as you climb, so sea-level times don’t get hot enough to kill the bad stuff. Check your local extension office’s chart before you start.
Skip open-kettle canning. That old method ladled hot tomatoes into jars and sealed without any water bath or pressure processing. It was common decades ago. It isn’t safe by modern standards because it doesn’t reliably kill bacteria that cause spoilage or botulism. If a recipe tells you to skip the bath entirely, close the tab.
For planning, figure 20 pounds of tomatoes will yield about 7–9 quarts of crushed tomatoes. That helps decide how many jars to prep.
Shelves clear, freezer freed. If what you want is concentrated flavor in minimal space, there’s a third path most people ignore.
Drying and concentrating flavor
Drying gets less attention than freezing and canning, yet it’s the method for max flavor in a tiny footprint. A dehydrator, or an oven on low, turns a mountain of tomatoes into a jar that fits in a drawer.
Leathery for snacking, brittle for powder
Pick the texture for your end use.
Leathery, pliable and chewy, works for oil-packing. Think store-bought sun-dried, only yours actually taste like tomatoes.
Brittle, dry enough to snap, is what you want for tomato powder.
Typical dehydrator settings: 125–135°F, slices 1/4–1/2 inch thick, 6–12 hours depending on variety. If you use an oven, set it as low as it goes, ideally 200°F or under, and prop the door slightly for airflow.
Reducing the bulk
Here’s the payoff.
Tomato powder might be the most underrated trick in the pantry. A five-gallon bucket of tomatoes reduces to a jar you can hold in one hand. That matters if your freezer and pantry are already full.
And here’s the part that feels like cheating. Don’t toss the skins and seeds left after milling sauce. Spread that pulp thin, dehydrate, and grind it too. Lycopene concentrates in and near the skin, so this leftover-powder method gives you a seasoning that’s more nutrient-dense than powder from flesh alone.
How to use it, stir a spoonful into soup, stew, or scrambled eggs for an intense tomato punch without adding liquid. Store in an airtight jar. If your kitchen runs humid, add a food-safe desiccant packet.
Roasting is another handy shortcut. Toss halved tomatoes in the oven at 400°F for 20–40 minutes before you dehydrate, can, or freeze. You skip blanching and the heat concentrates sugars. Roasted tomatoes that head into a dehydrator or jar taste noticeably richer than raw ones treated the same way.
If you like to plan ahead in the garden, look at dry-farming next season. Withhold extra water after fruit sets so the plant concentrates sugars and solids instead of diluting everything. Fruit ends up smaller, but the water to solid ratio drops a lot. Growers who try it report 25–40% shorter drying times.
One safety point that matters. If you oil-pack dried tomatoes, follow the basics. Oil creates a low-oxygen environment, and that suits botulism bacteria. Some folks dip dried tomatoes in vinegar before packing to bump acidity as a buffer, but even then, oil-packed jars should live in the fridge and get used within a couple of weeks. When in doubt, freeze the jars.
Three methods down. Before you pick, learn from where people blow it. The mistakes teach faster than the manuals.
Common mistakes that ruin a batch
Even people with twenty years of canning under their belt slip. These are the usual land mines.
- Skipping the acid step on “sweet” varieties. Cherokee Purple, Brandywine, and other heirloom darlings taste incredible because breeders dialed down acid and dialed up sugar. Perfect on a BLT, risky in a jar. If you grew anything marketed as “low-acid” or “extra sweet,” treat lemon juice or citric acid as non-negotiable.
- Overpacking the jar. Jamming tomatoes tight traps air pockets and slows heat penetration during processing. Leave the 1/2 inch headspace your recipe calls for. It’s functional, not tradition.
- Ignoring altitude adjustments. Plenty of home canners in Denver or Salt Lake City use sea-level times from an old card and wonder why seals fail. The National Center for Home Food Preservation publishes altitude charts for this exact reason. Check once, write it on an index card, tape it inside your pantry door.
- Freezing tomatoes in one giant bag. Dump five pounds into a gallon bag and you get a single frozen brick that takes 45 minutes to thaw. Flash-freeze on a tray first, always.
- Assuming cherry tomatoes don’t belong in jars. They do. They’re just fussier to peel. Some sources pass, others can them whole without blinking. They work fine, and plenty of gardeners skip peeling and pack them skins on.
Now the bigger problem, logistics. What do you do when three baskets roll in on the same afternoon?
Scaling up when the garden wins
Here’s how late July looks in a lot of kitchens. You planted six Romas in April because that felt reasonable. By week three of harvest you’re pulling 4 to 6 pounds a day, and the counter looks like a produce stand.
Triage matters more than technique. Sort the haul into three piles as soon as you walk in.
- Slightly bruised or overripe: freeze these first. They’re not pretty enough for jars, but they cook down into sauce just fine.
- Firm, blemish-free paste tomatoes: save these for canning day. They hold shape, carry lower water, and give you thicker sauce without hours of reduction.
- Cracked or split fruit: use the same day or dehydrate if they’re too far gone for fresh eating. Splits invite mold fast, so don’t park them in a later pile.
This takes five minutes. It saves you from canning a mixed batch of overripe mush and rock-hard fruit, which wrecks both texture and processing time.
Notice the paste tomato callout. There’s a reason that type keeps popping up.
Why paste tomatoes keep winning
Roma and San Marzano keep getting top billing for a reason. The gap is bigger than it looks on paper.
A beefsteak like Cherokee Purple or Brandywine can sit around 94% water. Paste types carry far more solids for their size, so you boil off less liquid and spend less time at the stove.
On the stove, that turns into sauce that reduces in about 40 minutes instead of two and a half hours to hit the same thickness. During a heat wave without air conditioning, that gap feels huge.
Some growers push further with dry-farming, withholding irrigation after fruit set so the plant concentrates flavor and solids instead of diluting them. Research on dry-farmed tomatoes shows higher sugar content, measured as Brix, and lower water ratios compared to irrigated plants. If your conditions allow, dry-farmed paste tomatoes dehydrate faster and need less reduction time when canning. Not required for a home garden. Useful if you’re chasing efficiency.
You did the work. Don’t let storage undo it.
Storage that actually matters
Canned jars want a cool, dark spot, ideally 50 to 70°F. A pantry shelf next to the stove, or a garage that hits 95°F in summer, shortens shelf life fast even when the seal looks fine. Check each jar before it goes on the shelf, press the center of the lid. If it doesn’t flex or pop, you’re sealed. If it flexes, put it in the fridge and eat within a week.
Frozen bags should be pressed flat before freezing. Flat bags freeze faster and stack better, which means less freezer burn and more usable space. Label everything with a date. “Tomatoes, Aug 2024” takes five seconds and saves you from freezer roulette in February.
Dehydrated tomatoes and powder need to stay bone dry. Any leftover moisture invites mold, even in a sealed jar. Add a small desiccant packet if you live somewhere sticky, like the Gulf Coast or the Ohio Valley in July.
Quick comparison
If you’re staring at three overflowing baskets and no plan, use this.
| Method | Time Investment | Shelf Life | Best For |
|---|---|---|---|
| Freezing (whole) | ~10 minutes | 6–12 months | Daily surplus, soups, sauces |
| Water-bath canning | 45–90 minutes | 12–18 months | Plain tomatoes, juice, sauce without low-acid additions |
| Pressure canning | 60–100 minutes | 12–18 months | Tomatoes mixed with peppers, onions, meat |
| Dehydrating | 6–12 hours (mostly hands-off) | 12+ months | Powder, oil-packed snacks, space-saving storage |
Freezing wins on time. Canning wins on shelf space because jars stack and don’t need a running freezer. Dehydrating wins for concentrated flavor in the smallest footprint, a jar of tomato powder smaller than a coffee mug that flavors a winter’s worth of soup.
None of these is universally best. They solve different problems. Most households run two at once during peak season.
Key takeaways
Mix methods instead of forcing every tomato through one path. That’s the real trick to getting through harvest without burning out.
- Freeze the daily handfuls. Six tomatoes on a Tuesday don’t deserve a canning session.
- Save canning for a real batch, a full bushel and a free weekend.
- Use bottled lemon juice every time you can, no exceptions.
- Lean on paste types like Roma or San Marzano for anything you cook down.
- Check seals after canning and keep your freezer steady.
- Expect 6 to 18 months of shelf life depending on method. Label with dates.
FAQ
Can I can cherry tomatoes?
Yes. Can them whole or halved, skins on or off. They’re more tedious to peel because they’re small, and plenty of gardeners skip peeling for whole-pack jars. If you’ve got a glut and hate peeling dozens of tiny fruits, freezing them whole is honestly easier.
Do I really need to add lemon juice?
Yes. This isn’t overcaution. Modern varieties are bred for sweetness, and that breeding pushed many into a pH range that isn’t reliably safe for water-bath canning on its own. Bottled lemon juice or citric acid is the standardized way to do it.